What Causes Grout to Flake and Crack—And How to Stop It
When grout begins to crack, crumble, or flake away, it’s more than just a cosmetic issue—it’s often a warning sign of deeper problems. In bathrooms and kitchens, damaged grout can allow water intrusion, promote mold growth, and eventually lead to structural repairs.
At Branch Home Remodeling, we often see grout problems that could’ve been prevented with the right materials and techniques. This guide will help you understand why grout fails and how to ensure a long-lasting tile installation in your next home remodeling project.
Why grout cracks and flakes in the first place
Grout may seem like a small detail in your tile installation, but it plays a critical role in keeping your surfaces durable, sealed, and visually appealing. Since grout is porous and relatively brittle compared to tile, it’s especially vulnerable to stress, moisture, and poor installation techniques. Understanding the root cause of grout failure can help you prevent costly repairs and maintain a beautiful, long-lasting finish.
Improper installation
In many cases, grout issues start long before the first signs of cracking or flaking appear. Grout failure is often a direct result of improper installation. Whether it’s due to using the wrong materials or rushing through the process, poor workmanship significantly reduces the life expectancy of your grout.
Common mistakes include:
-
- Using too much water when mixing grout, which weakens the final product
- Applying grout before the thinset mortar has fully cured, reducing adhesion
- Selecting the wrong type of grout for the tile spacing or environment
- Failing to seal grout properly in areas that need moisture protection
At Branch Home Remodeling, we’ve reworked numerous kitchen and bathroom tile installations where the original contractor cut corners. Our experienced crew takes time to choose the right grout product, follow manufacturer specs, and apply proper sealing techniques where needed.
Structural movement
Even the most perfectly installed tile job can develop grout issues if the surface underneath isn’t stable. Structural shifting or flexing beneath the tile can put pressure on grout joints, eventually leading to cracking, crumbling, or entire sections pulling loose.
You might notice signs such as:
-
- Cracks forming in straight lines across several tiles
- Individual tiles that move or feel loose when stepped on
- Gaps forming where walls meet floors or in corners
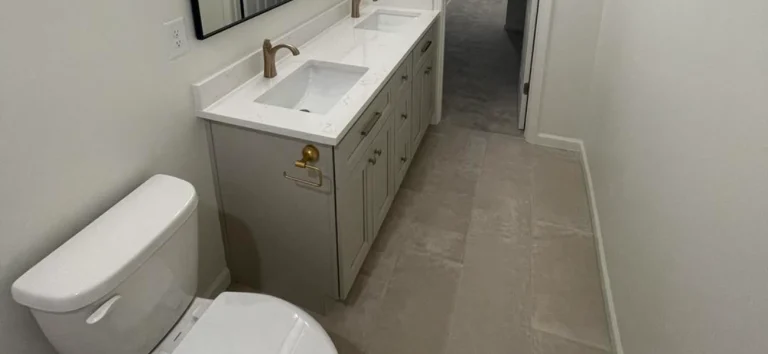
This kind of damage is especially common in homes with aging wood subfloors, settling foundations, or poorly reinforced framing. As part of a professional bathroom remodel, Branch Home Remodeling always assesses and reinforces the subfloor and wall framing to ensure a stable base for long-term tile durability.
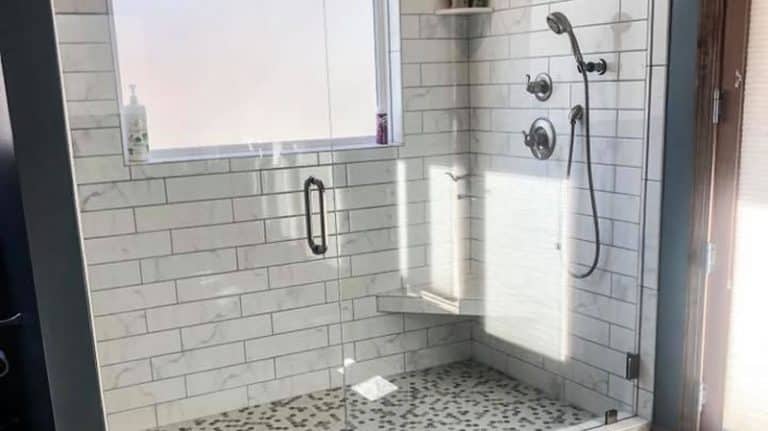
Moisture exposure
Bathrooms and kitchens are high-humidity zones, and grout in these spaces needs to be able to withstand constant exposure to water and steam. If grout isn’t properly sealed or if moisture gets behind the tile, it can start to deteriorate from the inside out.
Red flags include:
-
- Grout that softens, flakes off, or crumbles to the touch
- Discoloration in corners or along seams, especially in showers
- Recurring mold or mildew even after cleaning
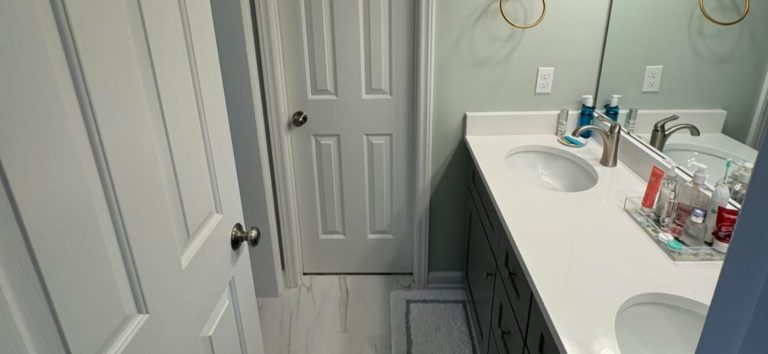
That’s why every bathroom remodeling project by Branch Home Remodeling includes moisture protection steps such as waterproof membranes, moisture-resistant grout products, and strategic sealing. These techniques help keep your bathroom beautiful and protected from the ground up.
Harsh cleaning chemicals
Another factor that often gets overlooked is how the space is cleaned. Many off-the-shelf bathroom and tile cleaners contain strong acids, bleach, or ammonia, all of which can gradually break down grout—even when it's properly installed.
If you've been using vinegar, bleach sprays, or abrasive scrubs, they may be doing more harm than good over time. Instead, we recommend:
-
- Gentle, neutral-pH cleaners designed for tile and grout
- Soft-bristle brushes instead of hard scrubbing pads
- A consistent maintenance routine to prevent buildup without overcleaning
During your kitchen or bathroom renovation, Branch Home Remodeling offers guidance on proper post-installation care so you can keep your grout and tile looking fresh for years to come—without damaging them in the process.
How we prevent grout failure in our remodeling projects
At Branch Home Remodeling, we take a proactive and comprehensive approach to tile work. Our goal is not just to make your bathroom or kitchen look great on day one—but to ensure that the tile and grout system holds up for many years to come. By combining expert craftsmanship with carefully selected materials and proven techniques, we eliminate the root causes of grout failure from the very beginning.
Substrate repair and prep
A successful tile installation starts well before the first tile is laid. The condition of the underlying surface—or substrate—is one of the most important factors in long-term grout performance. That’s why our process begins with a detailed inspection and repair of the existing floor or wall structure.
We address issues like:
-
- Uneven subfloors or misaligned backer boards that could lead to tile shifting
- Water-damaged wood or framing that would compromise stability
- Old wood substrates that flex or move with seasonal changes
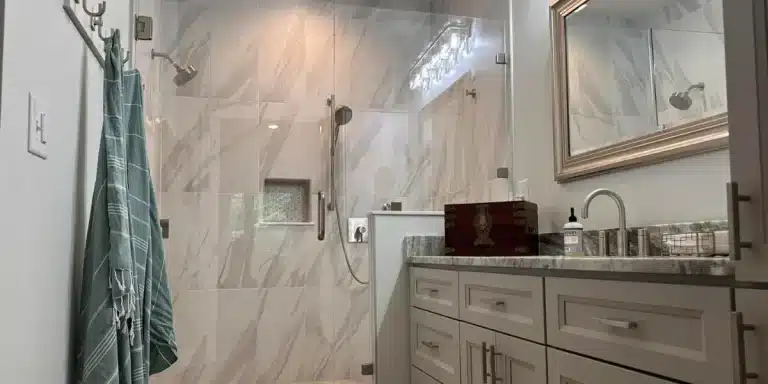
When we’re remodeling wet areas like bathrooms or laundry rooms, we take it a step further by applying premium waterproofing systems such as Schluter® membranes or RedGard® liquid barriers. These act as a protective layer behind the tile, blocking moisture that could otherwise seep in and degrade the grout over time.
Grout selection and installation
Not all grout is created equal—and choosing the wrong type can set a remodel up for failure. Our team at Branch Home Remodeling matches grout products to the specific conditions of your home, your tile material, and your lifestyle.
We often recommend:
-
- Epoxy grout for showers, tubs, and bathroom floors because it’s extremely water-resistant and more flexible than cement-based products
- Premixed urethane grout for areas needing extra durability and convenience—it requires no sealing and resists stains
- Sanded or unsanded grout, depending on joint width, to ensure a tight, professional finish
We also follow exact manufacturer specifications for mixing, working time, and curing. Rushing this step or using improper ratios is one of the most common causes of grout failure—and it’s something we simply don’t allow.
Sealing and caulking
Proper sealing adds an extra layer of defense for grout in areas exposed to moisture or heavy use. We apply high-quality sealants where needed to lock out water and stains, especially on cement-based grout in showers and floors.
In addition, we use flexible caulk at all change-of-plane joints, such as:
-
- Where tile meets tubs or countertops
- At inside corners of walls
- Between floors and vertical surfaces
This caulking prevents cracking by allowing the natural movement of your home to occur without stressing the grout lines. As part of every bathroom remodel, we also focus on sealing vulnerable areas like shower benches, niches, and corners to keep water where it belongs.
Maintenance education
Even the best tile work benefits from proper upkeep. After every kitchen remodel or bathroom remodeling project, we walk you through how to care for your new surfaces without unintentionally damaging the grout.
Our tile maintenance tips include:
-
- Sealing grout every 1–2 years if using cement-based products
- Avoiding acidic or abrasive cleaners that can eat away at grout joints
- Checking for early signs of wear, like hairline cracks or surface discoloration
These small steps make a big difference in protecting your investment and avoiding costly repairs down the road. We believe that educating our clients is just as important as delivering flawless tile work—and that’s part of what sets Branch Home Remodeling apart in the Wake County remodeling industry.
Real-world example: Grout problems solved in a Raleigh kitchen
We recently helped a homeowner in Raleigh, NC who had grout crumbling between their kitchen backsplash tiles just 8 months after installation. The original installer had used unsanded grout for a large joint width and failed to seal it.
Our solution included:
-
- Removing all compromised grout
- Repairing minor drywall damage behind the tile
- Regrouting with a flexible urethane grout
- Caulking between the countertop and backsplash
The kitchen now looks great—and the grout is holding strong under daily use.
Proudly serving Wake County and surrounding areas
Branch Home Remodeling provides professional kitchen remodeling, bathroom renovations, and interior remodeling services throughout:
-
- Raleigh
- Apex
- Cary
- Holly Springs
- Fuquay-Varina
- Garner
- Wake Forest
- Morrisville
- Rolesville
- And nearby communities in Wake County, NC
Tired of flaking grout and cracked tile seams?
Let’s make your space more durable, beautiful, and built to last
Don’t wait until the damage spreads. If you’re noticing grout issues in your bathroom, kitchen, or flooring, the team at Branch Home Remodeling can help. We’ll assess the cause, provide honest recommendations, and deliver a high-quality remodeling solution that addresses the root of the problem.
Call today or request a free estimate for your home remodeling project in Wake County or the surrounding area. We specialize in bathroom remodels, kitchen renovations, interior remodeling, and more—with expert craftsmanship and long-term durability you can trust.